This post is a summary of the work and learnings from ITP’s Soft Sensing class.
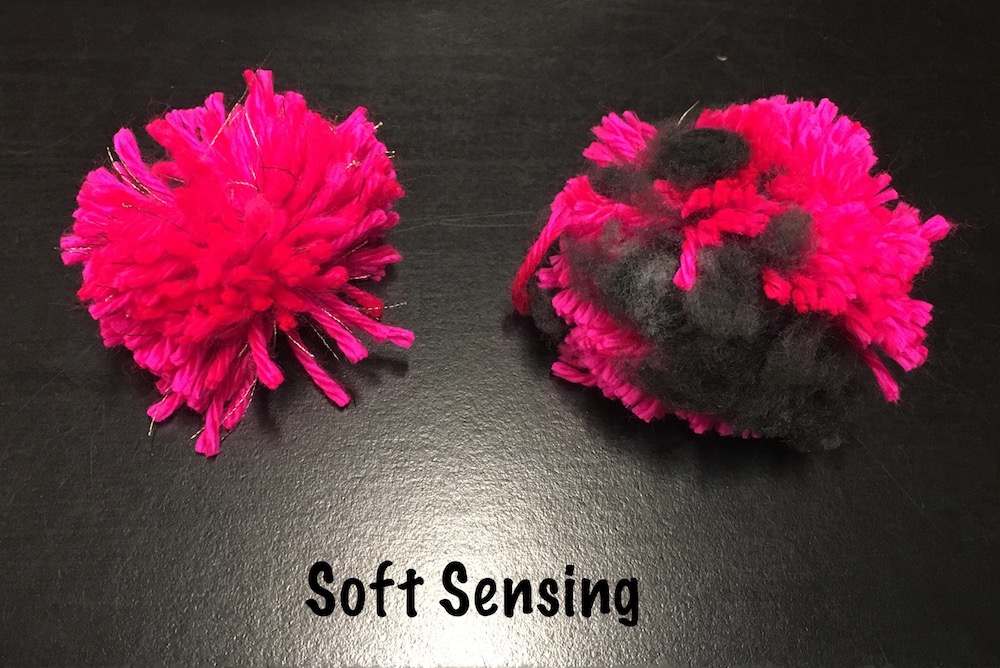
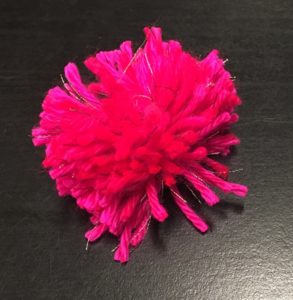
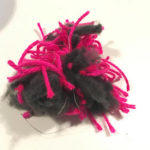
In addition to making the conductive pompoms seen above, In this class I:
- Sewed with a purpose for the first time in my life 👨🎓
- Used this new skill to learn how to make “soft” electrical circuits and sensors. ⚡️
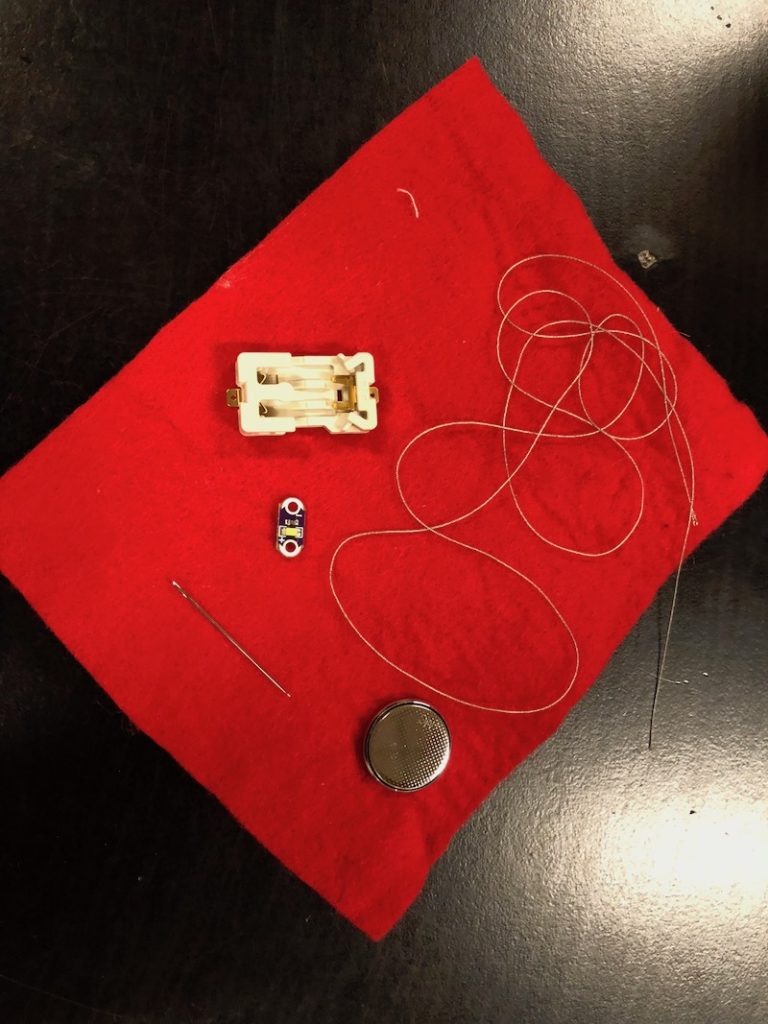
We started with the basics – how to thread a needle and stitch. We practiced using conductive thread, a sewable LED light, a sewable batter holder and a simple piece of red felt.
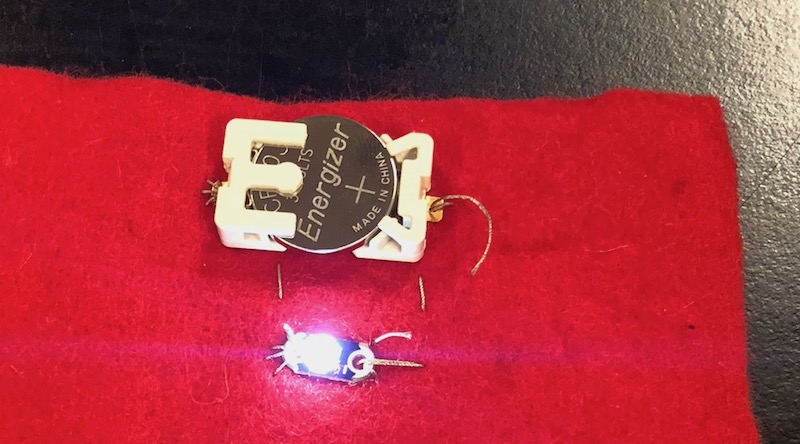
A few ugly stitches later, the conductive fiber was working like a wire from battery to LED:
If this thread can conduct electricity, what other materials can? And exactly how conductive are they under different circumstances? I draw your attention back to the short-lived series ‘Is it conductive?’ in which I tried to see if various items would conduct electricity.
In this class we took the exercise more seriously and tested different conductive fabrics to see how their resistance changed under different presses, stretches and pulls.
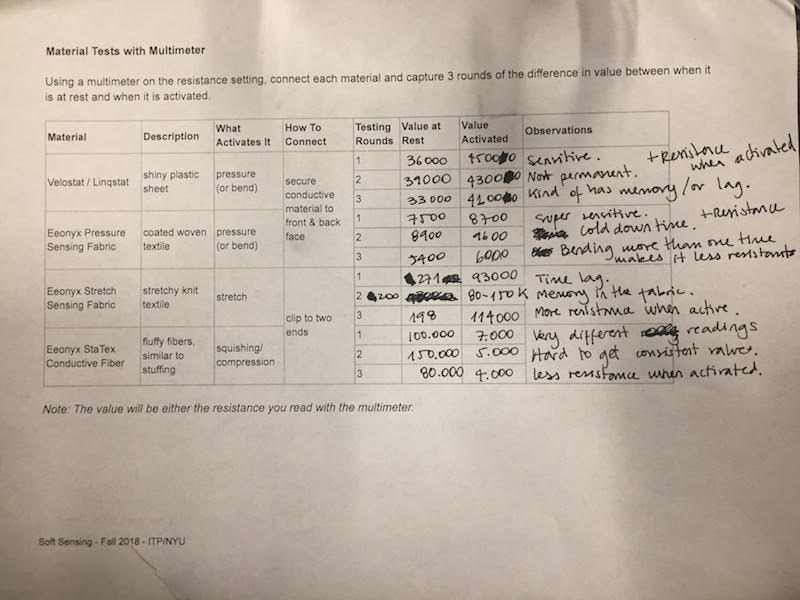
This mainly showed me a few things:
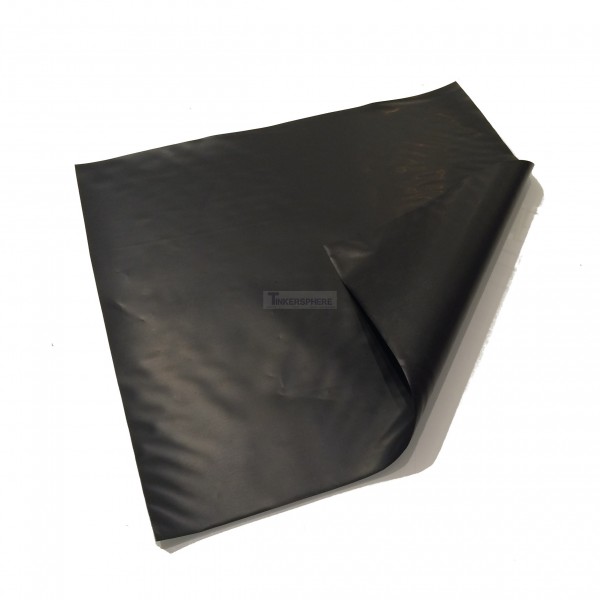 |
Velostat, the black plastic commonly found as the plastic surrounding electronics equipment becomes more resistive when pressure is applied (to it’s flat side) |
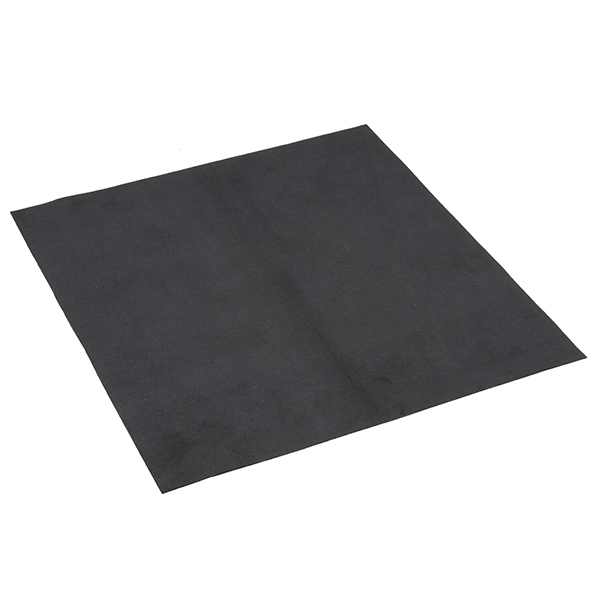 |
EonTex pressure sensing fabric is like the Velostat but better, with a greater range of reliable resistance levels. |
 |
Eeonyx Stretch Sensing Fabric does what you think, works pretty well, and is very fun to play with |
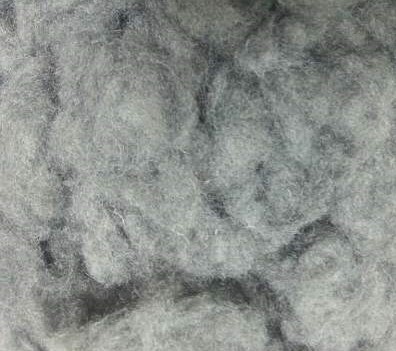 |
https://Eeonyx StaTex Conductive Fiber is like teddybear stuffing that conducts electricity. This material was my absolute favorite to work with, as it would constantly reshape and reform. |
So maybe now you realize what that black fuzzy stuff was in the first picture! After completing this exercise we set out to make a simple, creative resistor using these materials.
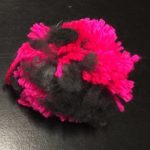
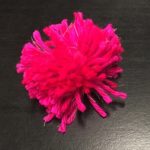
My awesome group made two things – the pompoms and a boxing glove!
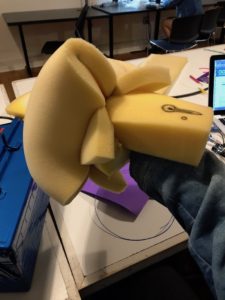
The boxing glove used the pressure sensing fabric and became less resistive when pressure was applied – in other words, a punch could light up an LED!
(Video if available)
The pompoms also routed electricity through them, but not really in any useful way 😄
We used a legit pompom maker to make each of these. Can you tell I had a lot of fun with this? Photo montageeeeee!

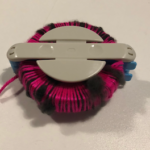
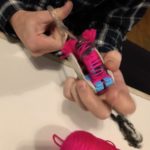
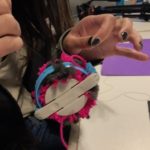
With some basic fabrication experience under our belt, we split into new groups for the rest of the course and explored a topic area in more detail. My group agreed to explore how swiping, petting, and stroking gestures could be manifested. We researched the topic and others on How To Get What You Want – an awesome resource. In the end, we made a small conductive character named Charles without using this technique.
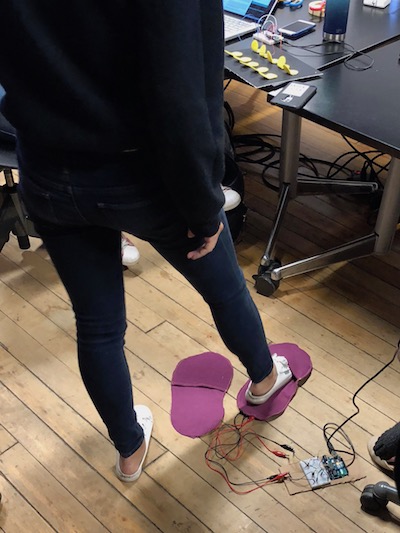
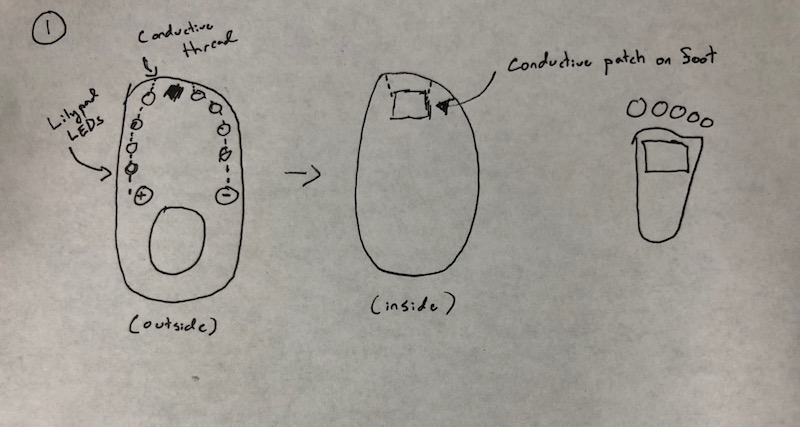
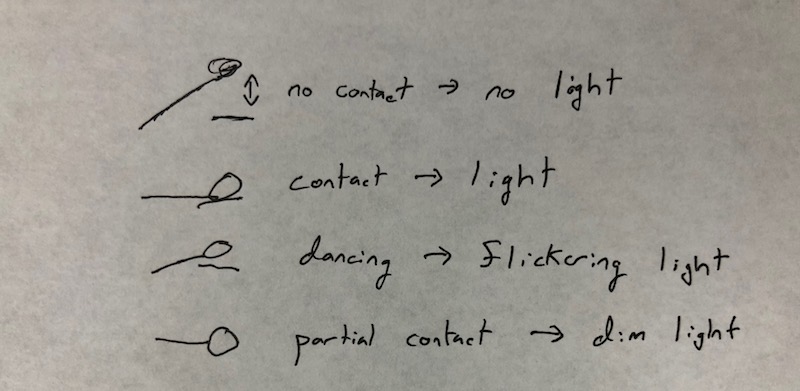
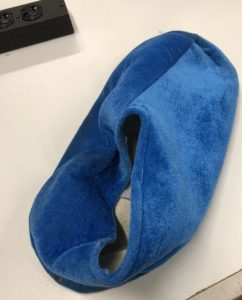
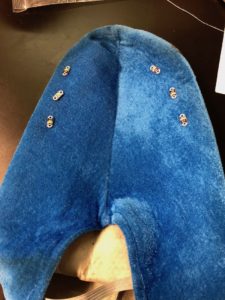 …and begun sewing with conductive thread
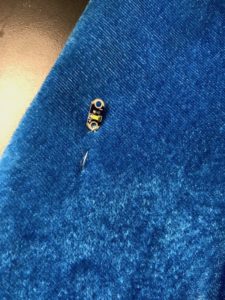

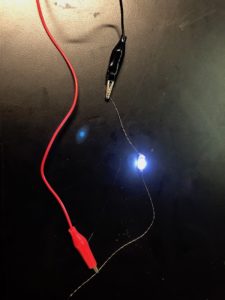
I sewed two of the LEDs with my new skills.
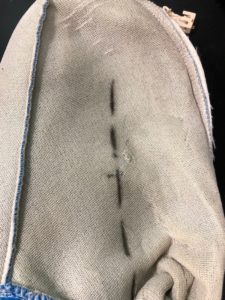
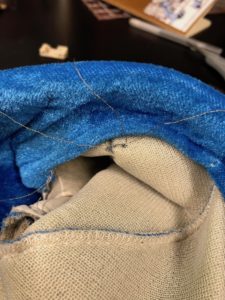
This is where I ran into my first major snafu. The 3 volt coin battery did not have enough energy to light the two LEDs in series. I honestly should have thought of this before – physics and EE teachers: please forgive me.
The two LEDs required about 5.4 volts to be properly lit.
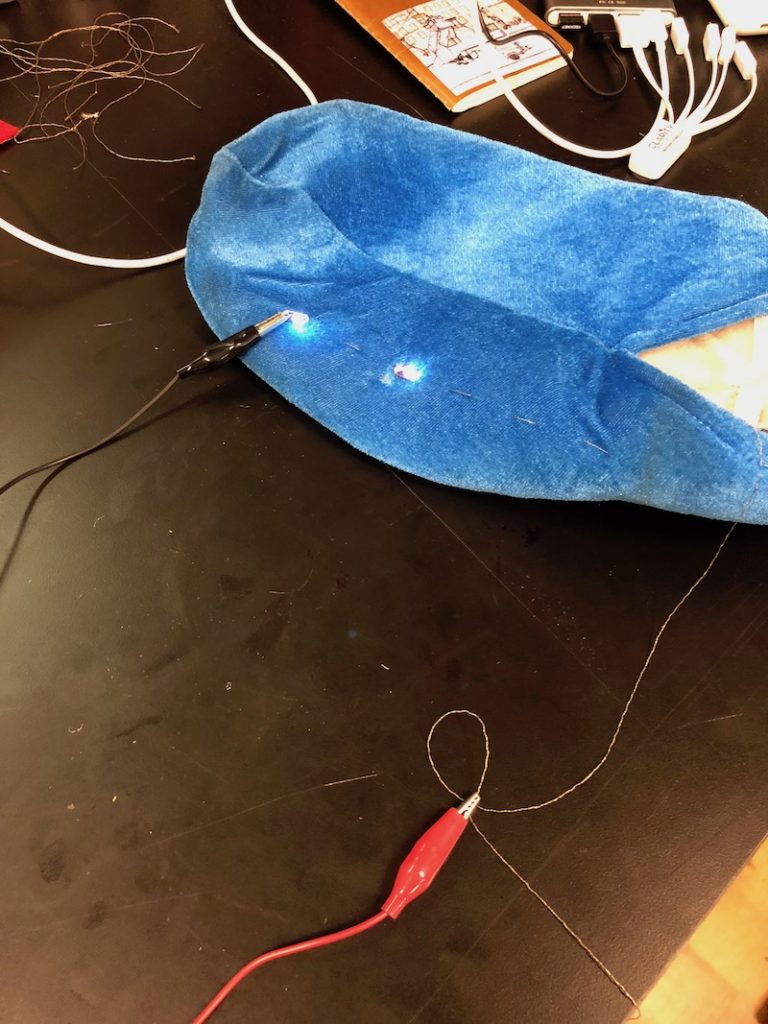
I preferred to have a wearable that could work independent of power supply, so I opted to stick to my concept and just go with one LED and put the sensor on the side of the foot.
I continued with the same professional-level tailor quality:
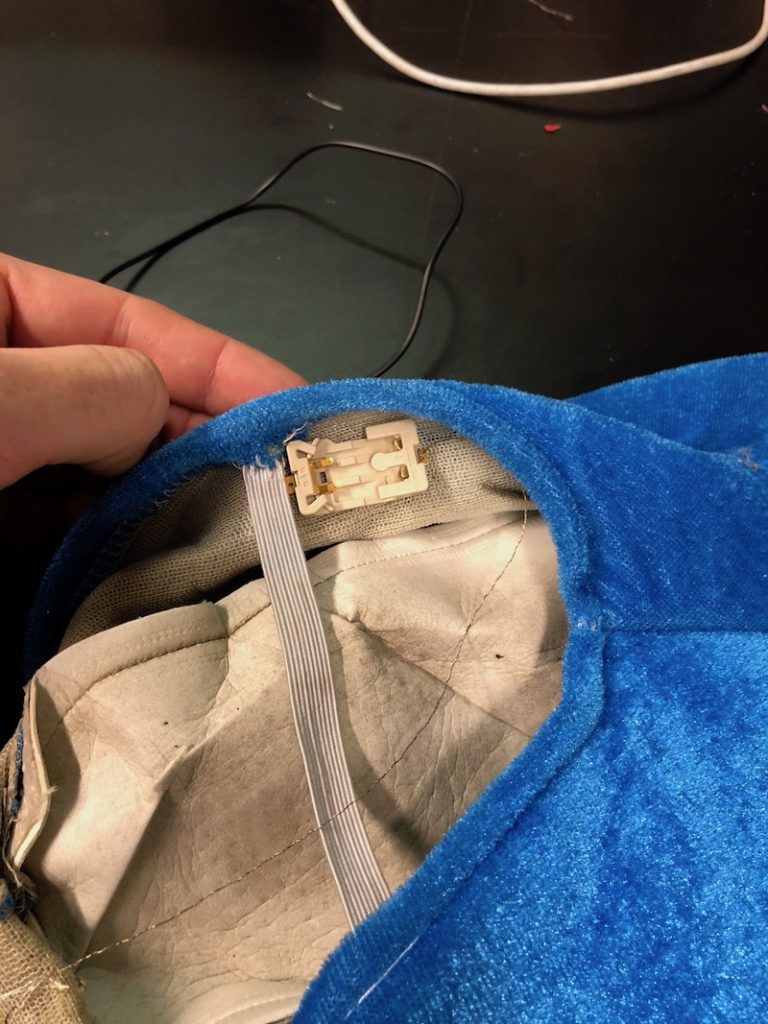
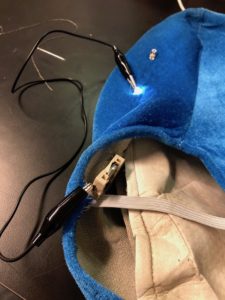
I planned to use copper tape as the conductive material that could be added to the foot and inside the slipper – leaving a small amount of the circuit unfinished as a break:
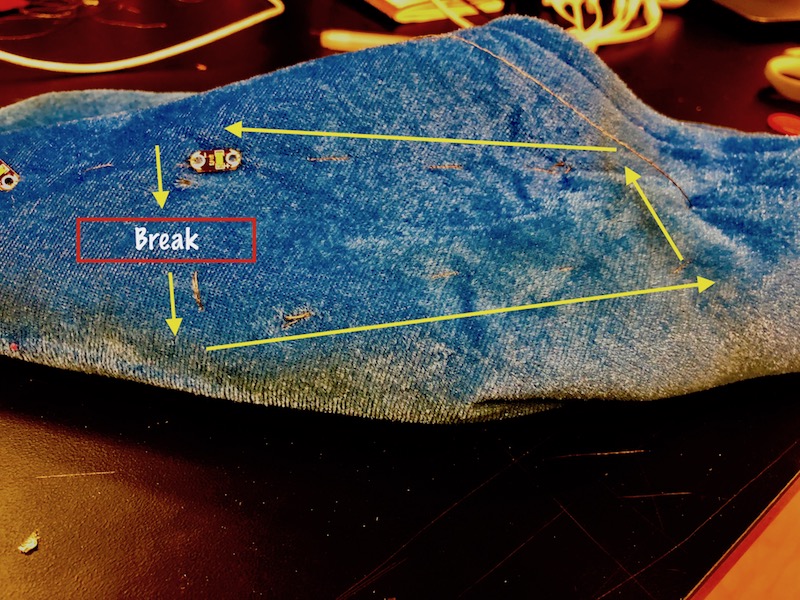
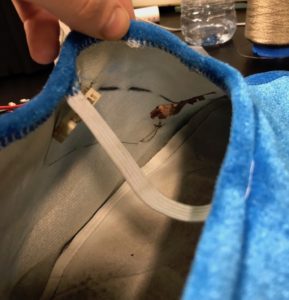
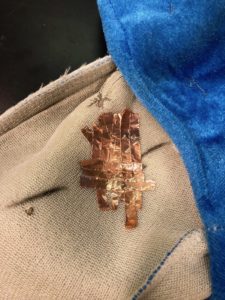
At this point my confidence this would work at all was very low. Nonetheless I patched up my shoe to try it out:

…and it kind of worked! Initial testing:
and fashion show!
If you are still reading, thank you for your time and I hope you enjoyed this soft sensing adventure. See ya!
