
The connected thermostat I was building earlier is now complete! 🌡🌡🌡
This thermostat works like a Nest Thermostat (though clearly not as pricey); collecting the current temperature and sending that information to an online server.
Here is the repo for the project.
It was recently collecting the temperature of its environment at NYU ITP for a week. During that week, it was sending that information (along with the desired temperature which is controlled by the knob) to a real, live server. 📡
Consequently, it was hanging out on the real, live internet and subject to attacks. Read more about the cybersec here.
Networking:
Thank you to cvalenzuena and ardunio sample sketches
The thermostat uses a MKR1000 to wirelessly send an HTTPS request to a server once an hour. The request has the following JSON data in it:
{"sessionKey":"[redacted]",
"macAddress":"[redacted]",
"data":{"temp":"20.99",
        "targetTempC":"73",
        "fahrenheit":"69.78",
        "targetTempF":"74"}
}
It sends the information in both celsius and fahrenheit because this is the world we live in.
Digital Details:
Thank you to Tom Igoe and this instructable (temperature sensor), and altervista for the LCD screen wiring
The major 🔑 parts of the thermostat are the MKR1000 and temperature sensor.
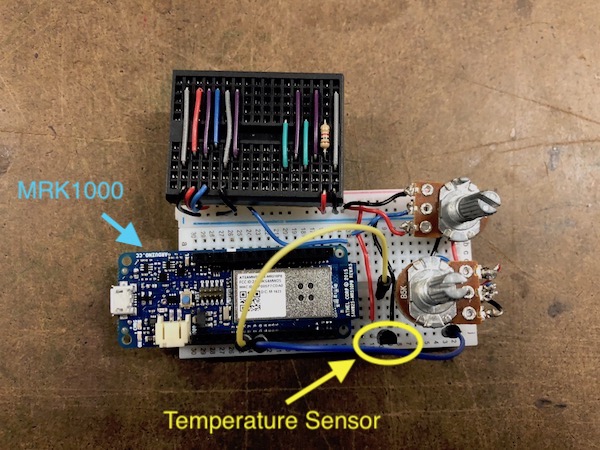
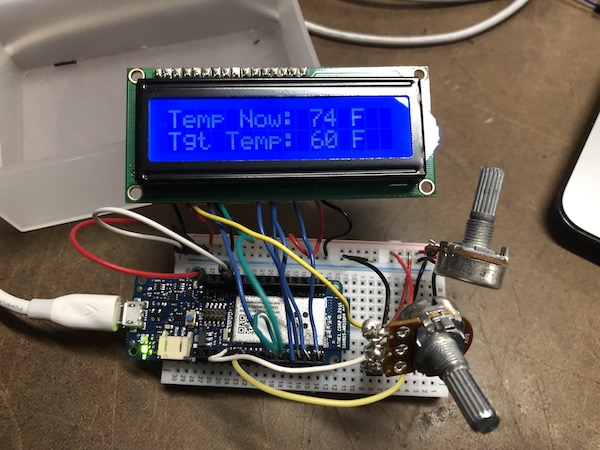
The LCD screen is nice for visual confirmation as well:
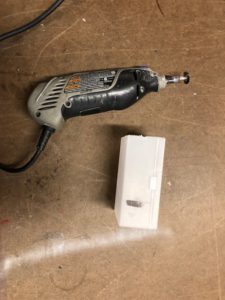
Fabrication:
The enclosure used for this thermostat was a travel soap container from Muji (the best store in the world❣)
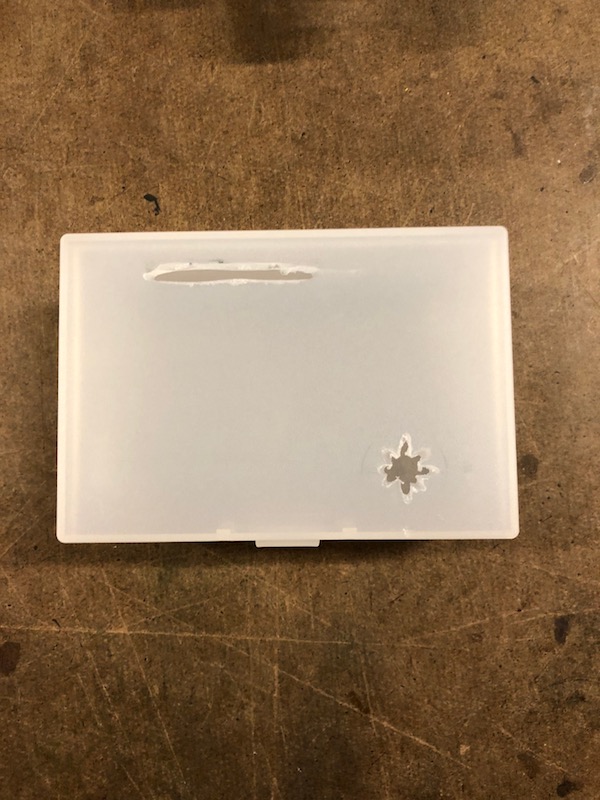
I used a Dremel with a metal, brillo-style bit to create holes for the LCD, knob, USB and sensor holes seen on the exterior.

The hardware on the interior is then latched on to these exterior pieces.

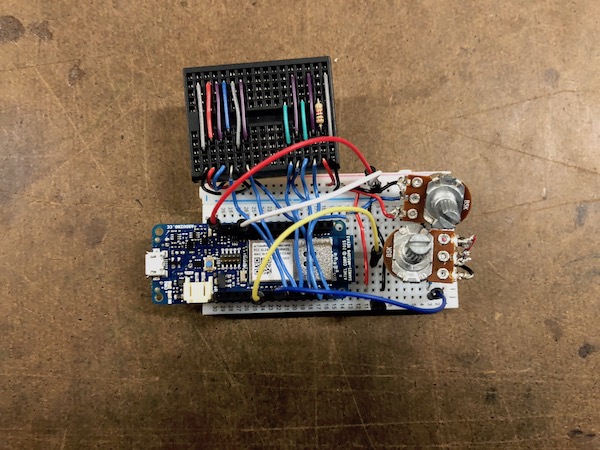
On the inside is a breadboard setup:
The LCD screen is attached to a mini-breadboard that is connected to the main one. Here is what that setup looks like without the LCD screen attached:
The components fit through the holes in the muji box like so:
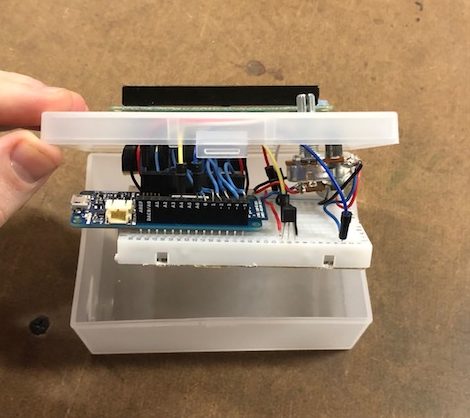
Close it up and plug it in – tada! A thermostat.

2 replies on “A Simple Connected Thermostat”
[…] My device stood strong – the records on our server show some solid data coming from the device. In summary the device was: […]
[…] contained in the boxes seen below – on the left, a simple soap container from muji (also used for this project), and on the right, a shiny little green metal […]