Creating the physical enclosure for the CRYP0MANIA crystal was a project in and of itself. This post is about the crystals physical details.
For a summary of the sculpture overall, read more here. For details on the code and wiring of the crystal, read more here.
DESIGN
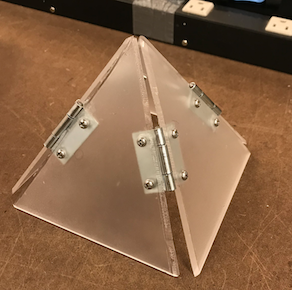
The steam-punk / cypher-punk aesthetic of the crystal was driven by the need for a good way to create the tetrahedral shape that would reflect Ethereum’s logo.


Previous attempts using acrylic glue as designed here were failing and falling apart. It was impossible to cut the acrylic to the appropriate angles and bezels to make it work. crystal v1 was a pile of junk.
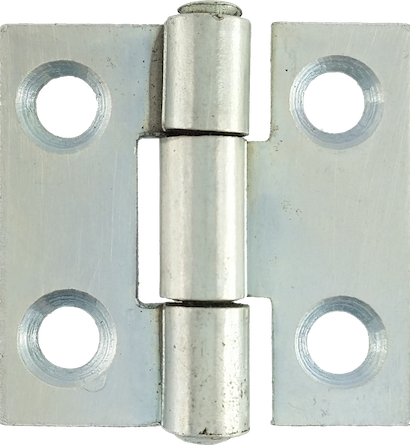
After consideration of new options, I opted for SCREWS, NOT GLUES – and would consider hinges to connect the pieces. This was tested on the old pieces of acrylic and seemed to work rather well.

In addition, the new design would have a middle area to hold the hardware. Section B in the quick sketch above. All of these pieces would be connected by hinges – 16 hinges in total.
BUILDING WITH HINGES
Making the crystal with this new design required only a slight change to the first steps of the process as described here. Acrylic was still used, with the same dimensions, but with the addition of mid-section pieces:
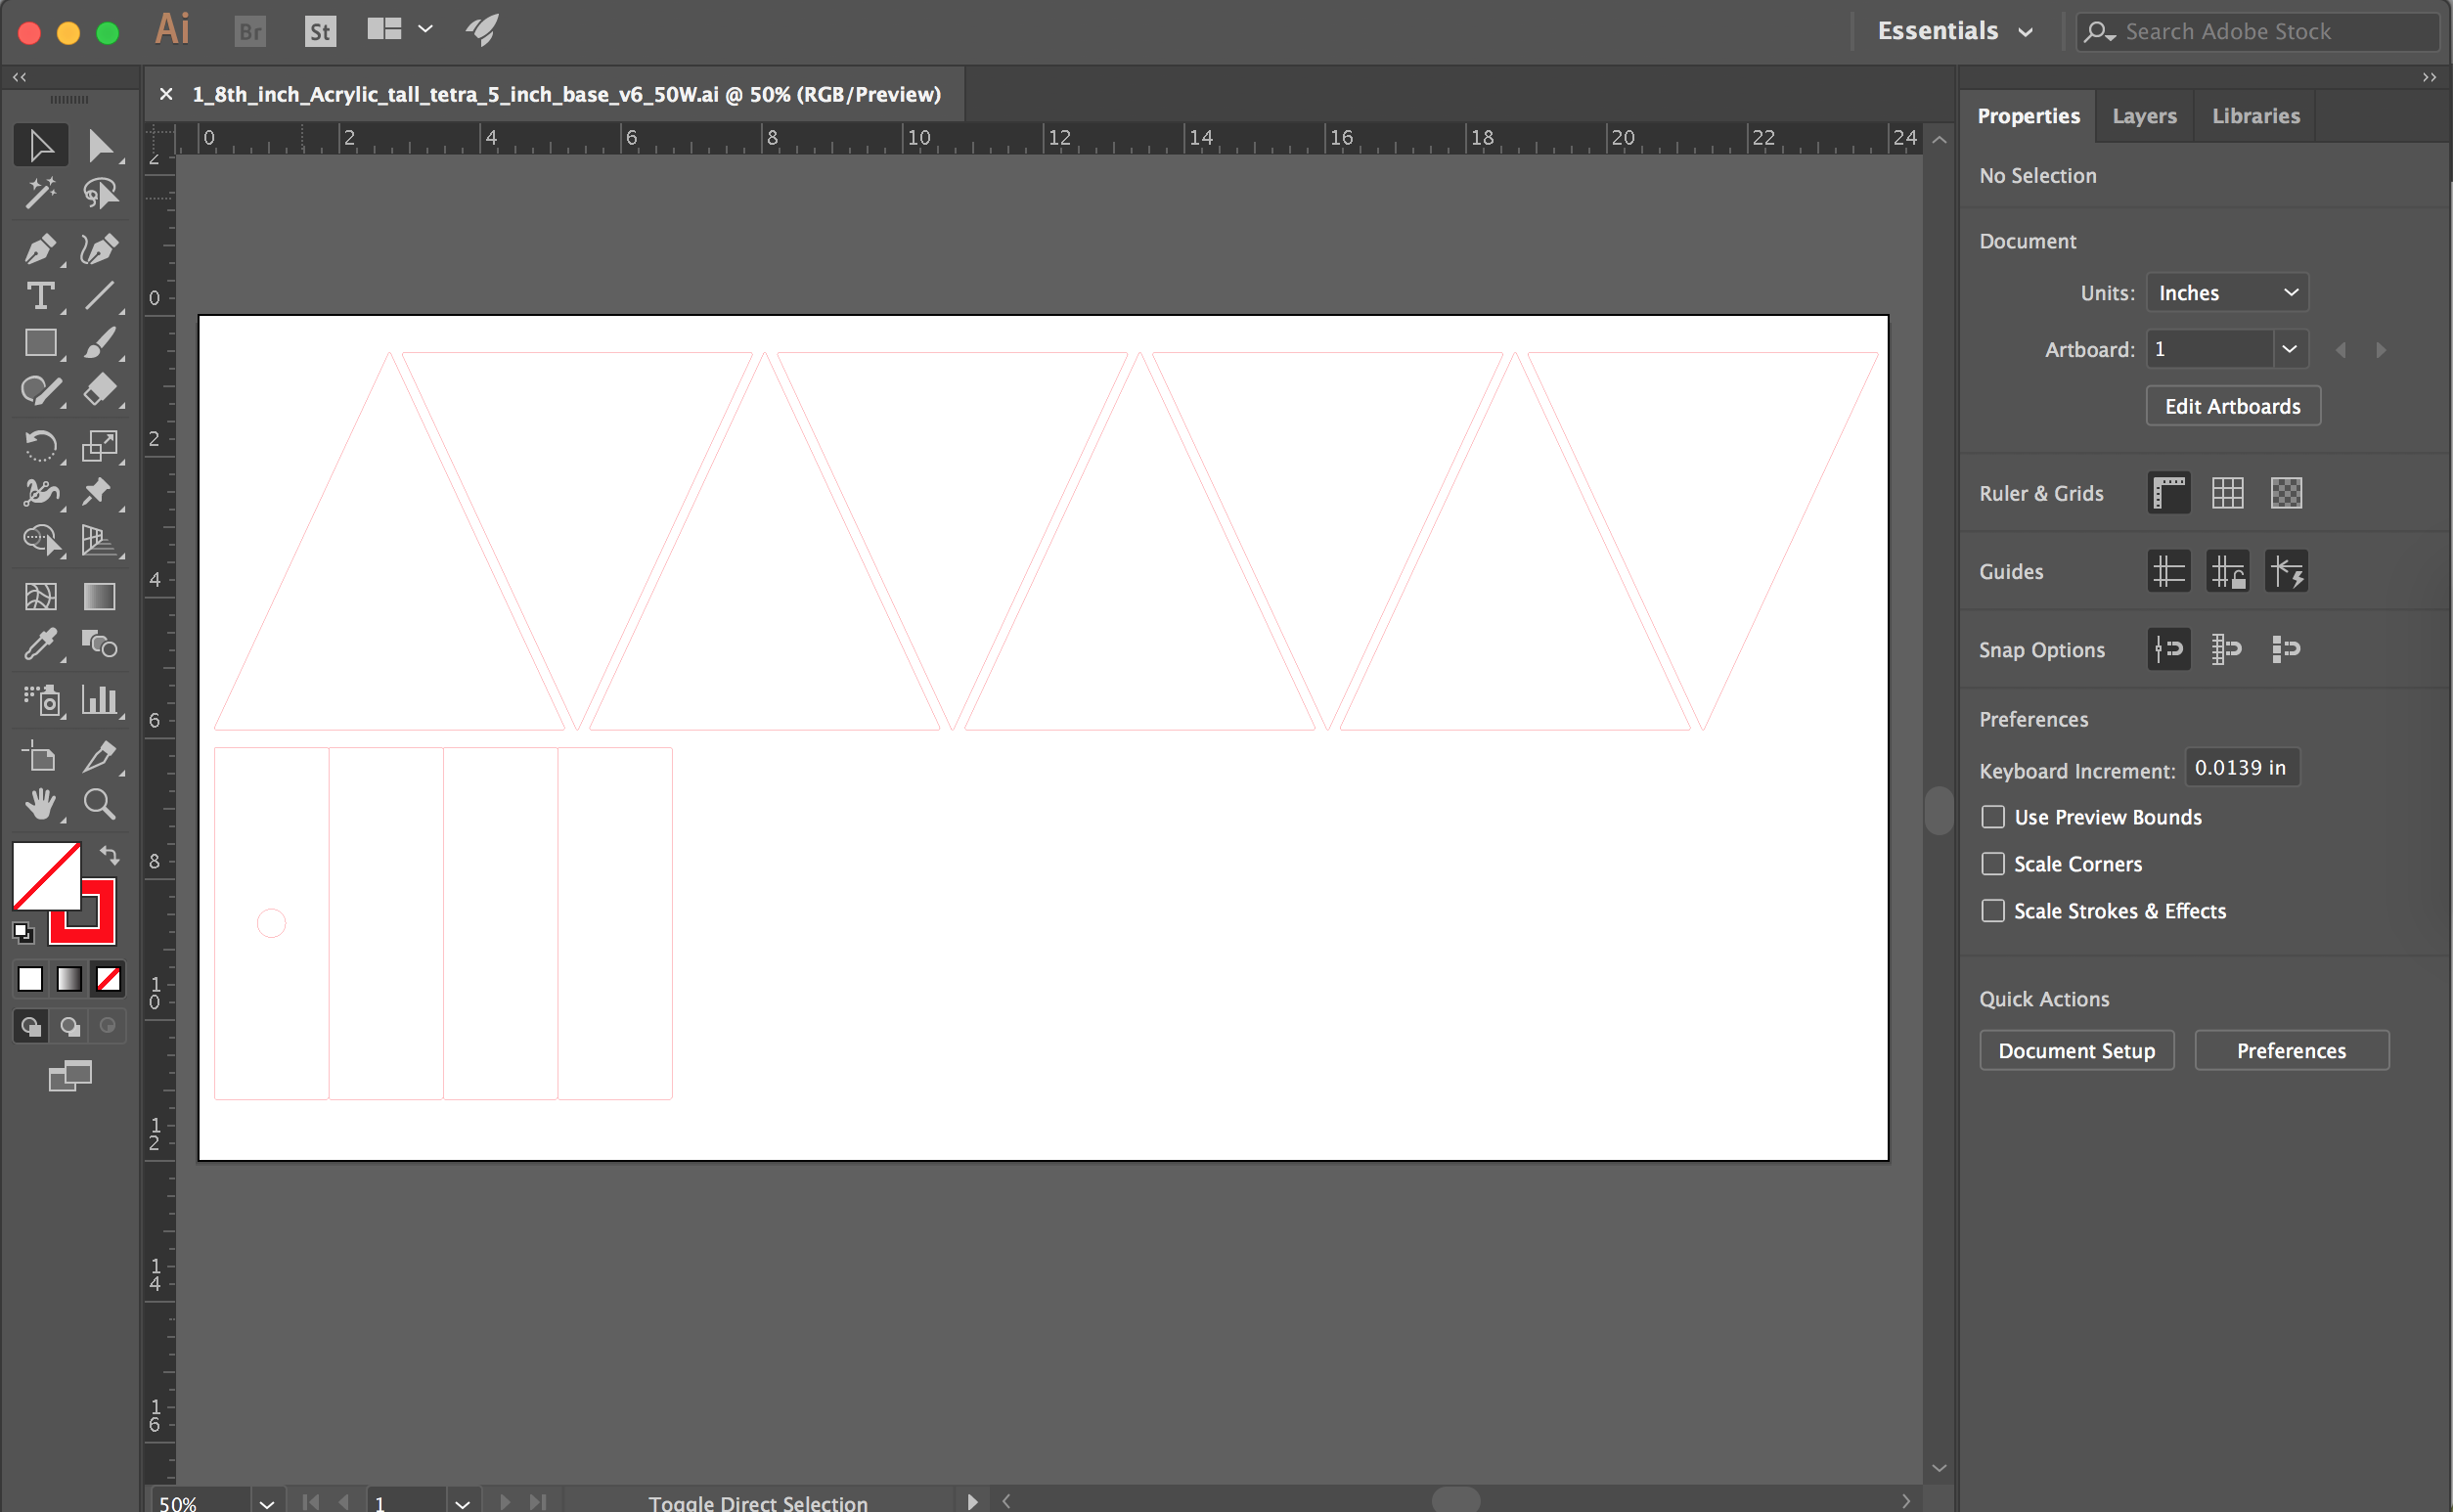
You can find the illustrator template here, and the template for the 4″ acrylic base stand here.

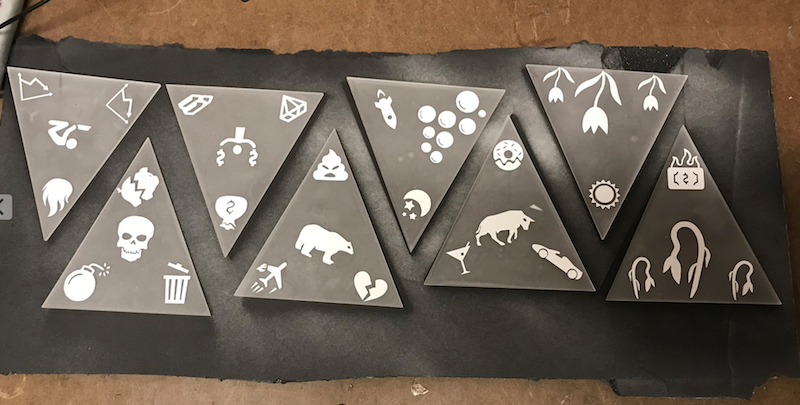
The designs were printed and sprayed on using the same method described here, although with some more and updated iconography. Here are the files used to print them with the Cameo vinyl cutter.
After using the same methodology, it was time to use the screws on these fresh triangles.
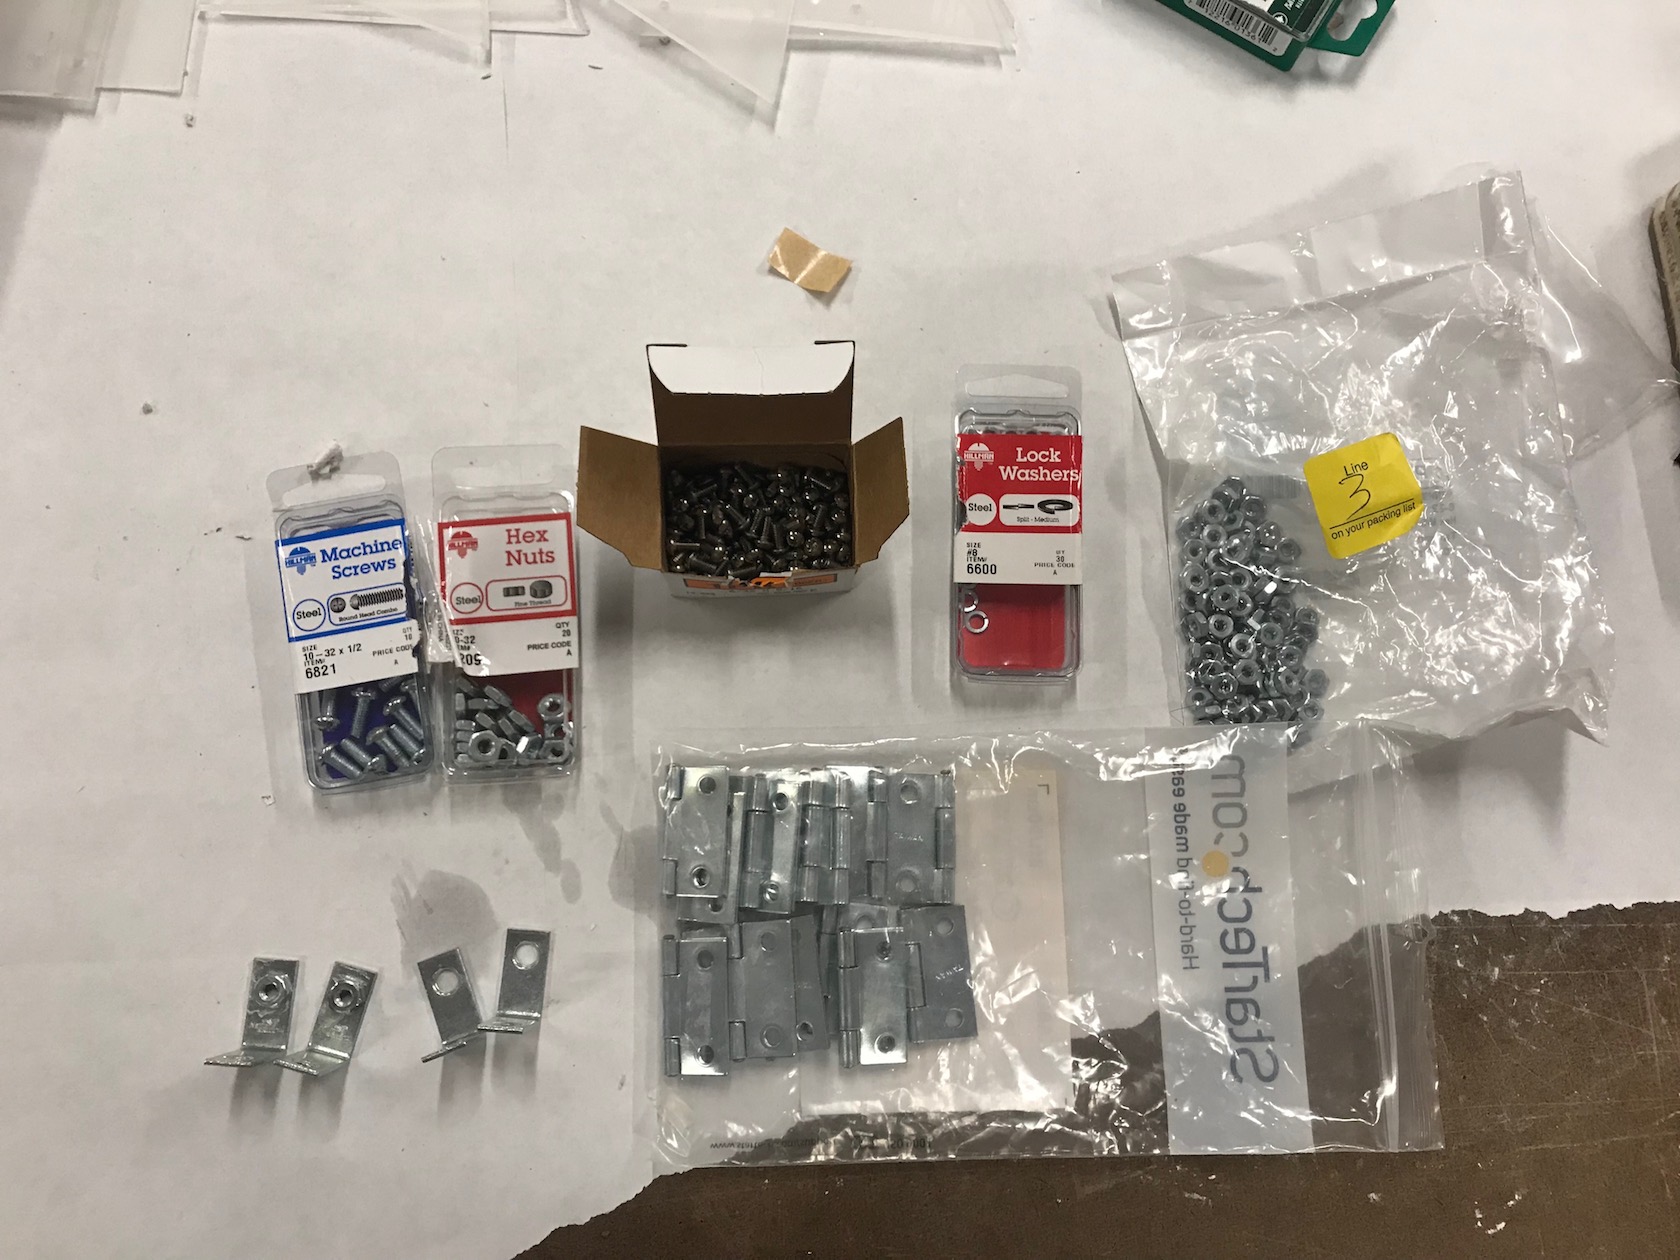
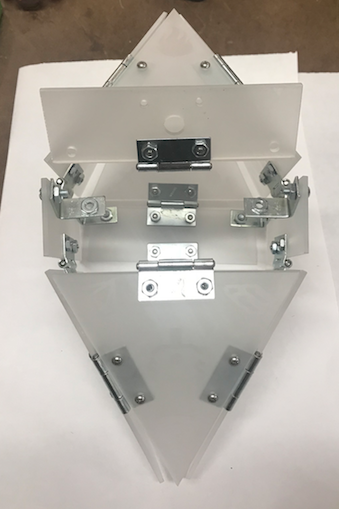
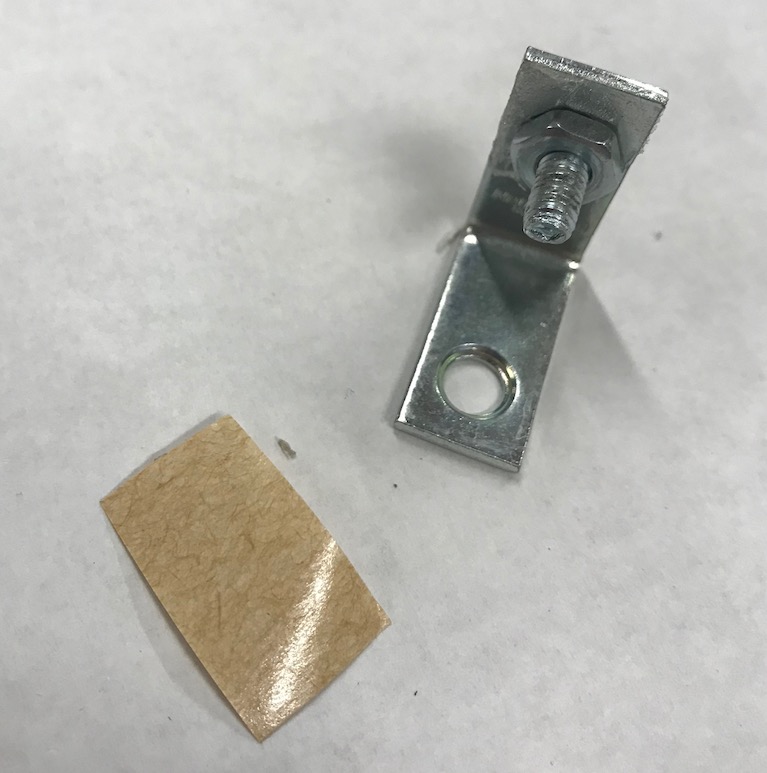
Each triangle would have 4 hinges connected to it, and each base section would have two hinges on the top and bottom, and 2 corner brackets connecting them to each other. These corner brackets were key to the stability of the crystal. ?
This involved drilling 48 holes by-hand to ensure precise holes would be drilled without chipping the acrylic. This step alone was a HUGE time commitment – of about 2 hours including setup & cleanup – which you can watch me do at ~100x speed below:
After drilling the holes, the hinges were screwed in one-by-one. This was another big time commitment. Let’s fast-forward again, shall we?
`
As the video comes to a close, you can see a new point of concern – how can we screw the final hinges in and close the damn thing?!?
Imagine making this whole thing and not realizing you can’t close it up completely… yeah.
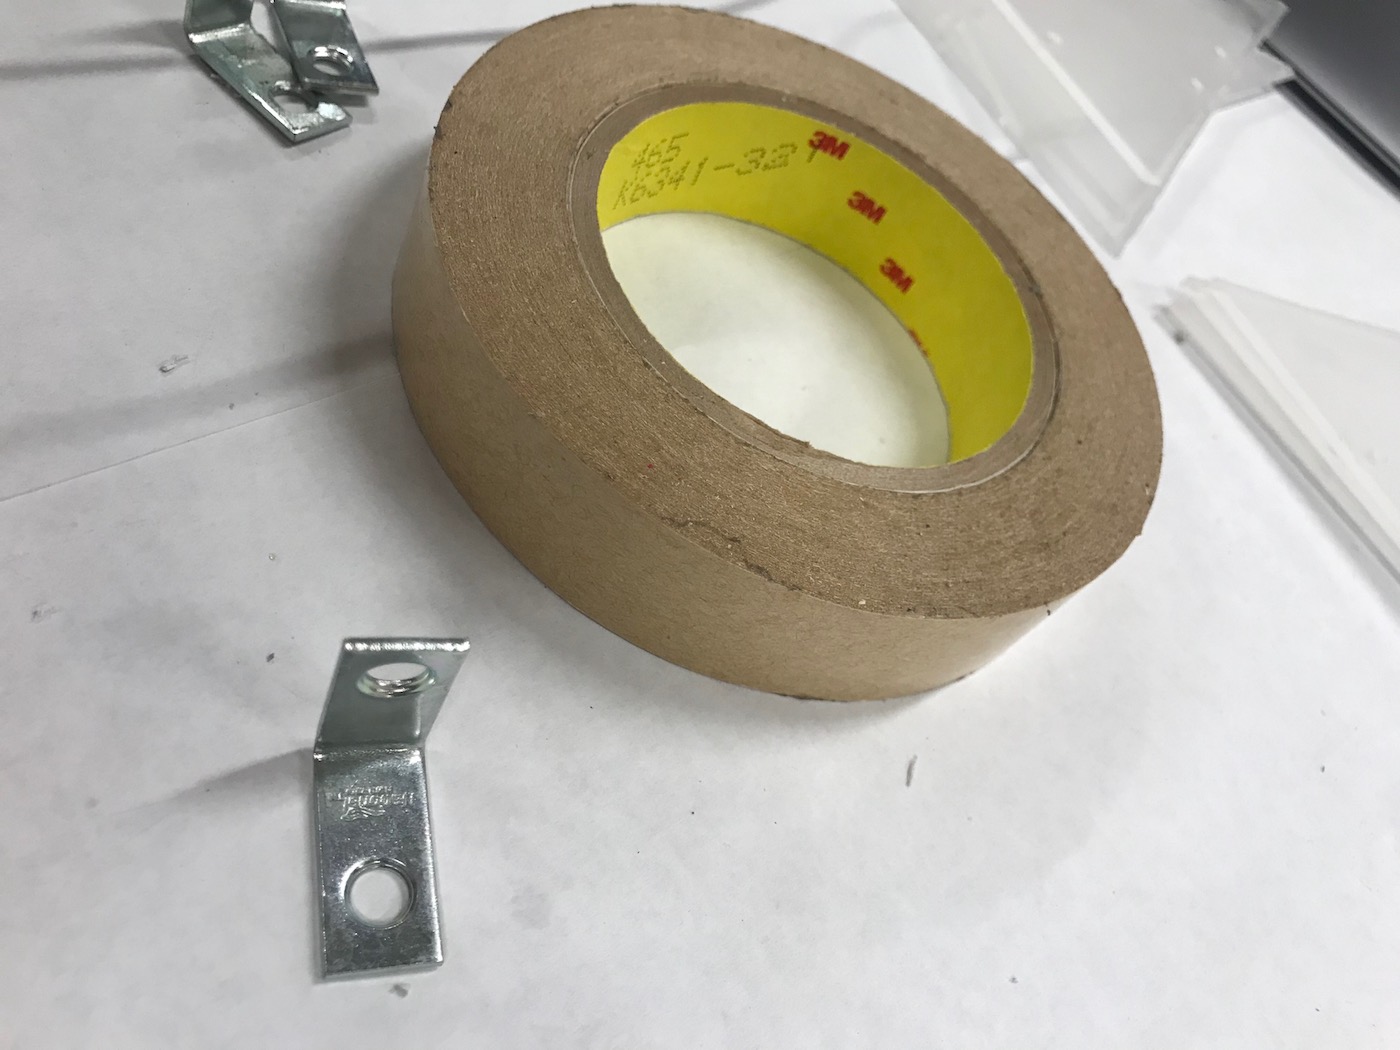
Luckily colleague Lucas Chung was able to provide a “jenky” solution – glue the nuts to the inside of the final brackets and hinges that need to be closed. I used industrial-strength adhesive for this, and by-golly it worked! Nothing jenky about it to me!
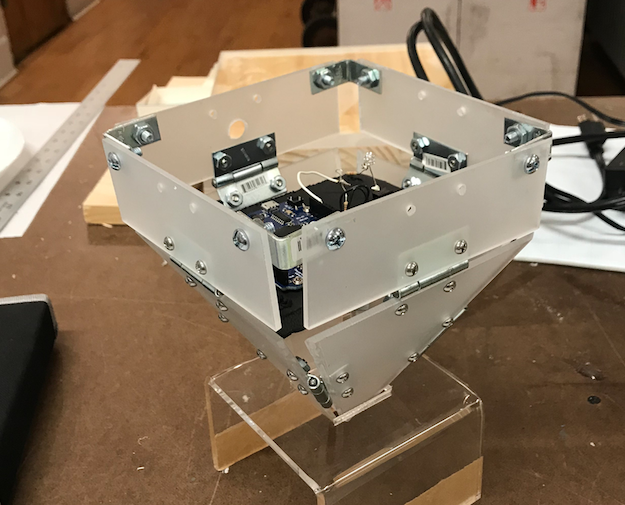
With the enclosure ready to be sealed, I mounted the hardware onto a nice, light (1/8th inch thickness) piece of foam board of 5″ x 5″ in size.

This would allow it rest nicely inside the 5″ base triangles with a bit of space on every side. Finally, threading the DC voltage described in this digital description through the hole in the mid-section, the crystal was ready to be sealed.

Thanks to the industrial glue holding some of the nuts, this enclosure can easily be opened and closed for repairs and alterations. After being shown off at the ITP winter show, it now lives in my living room, hoping someday that it will have some other friends.

Build of Materials
The total build of materials for the current version of the crystal is $70.08.
The biggest contributors to this cost are the glorious hinges as well as the microcontroller and power supply for the unit, which together account for ~61% of the unit cost.
| Part | Description | Qty | Per-crystal cost | Provider |
| Acrylic Sheet | 1/8″ thickness clear acrylic – 12″ x 24″ sheet | 1.00 | $7.00 | Canal Plastics |
| Acrylic Stand | 1/4″ thickness clear acrylic – 3″ x 3.4″ x 3″ rectangular acrylic stand | 1.00 | $7.50 | Canal Plastics |
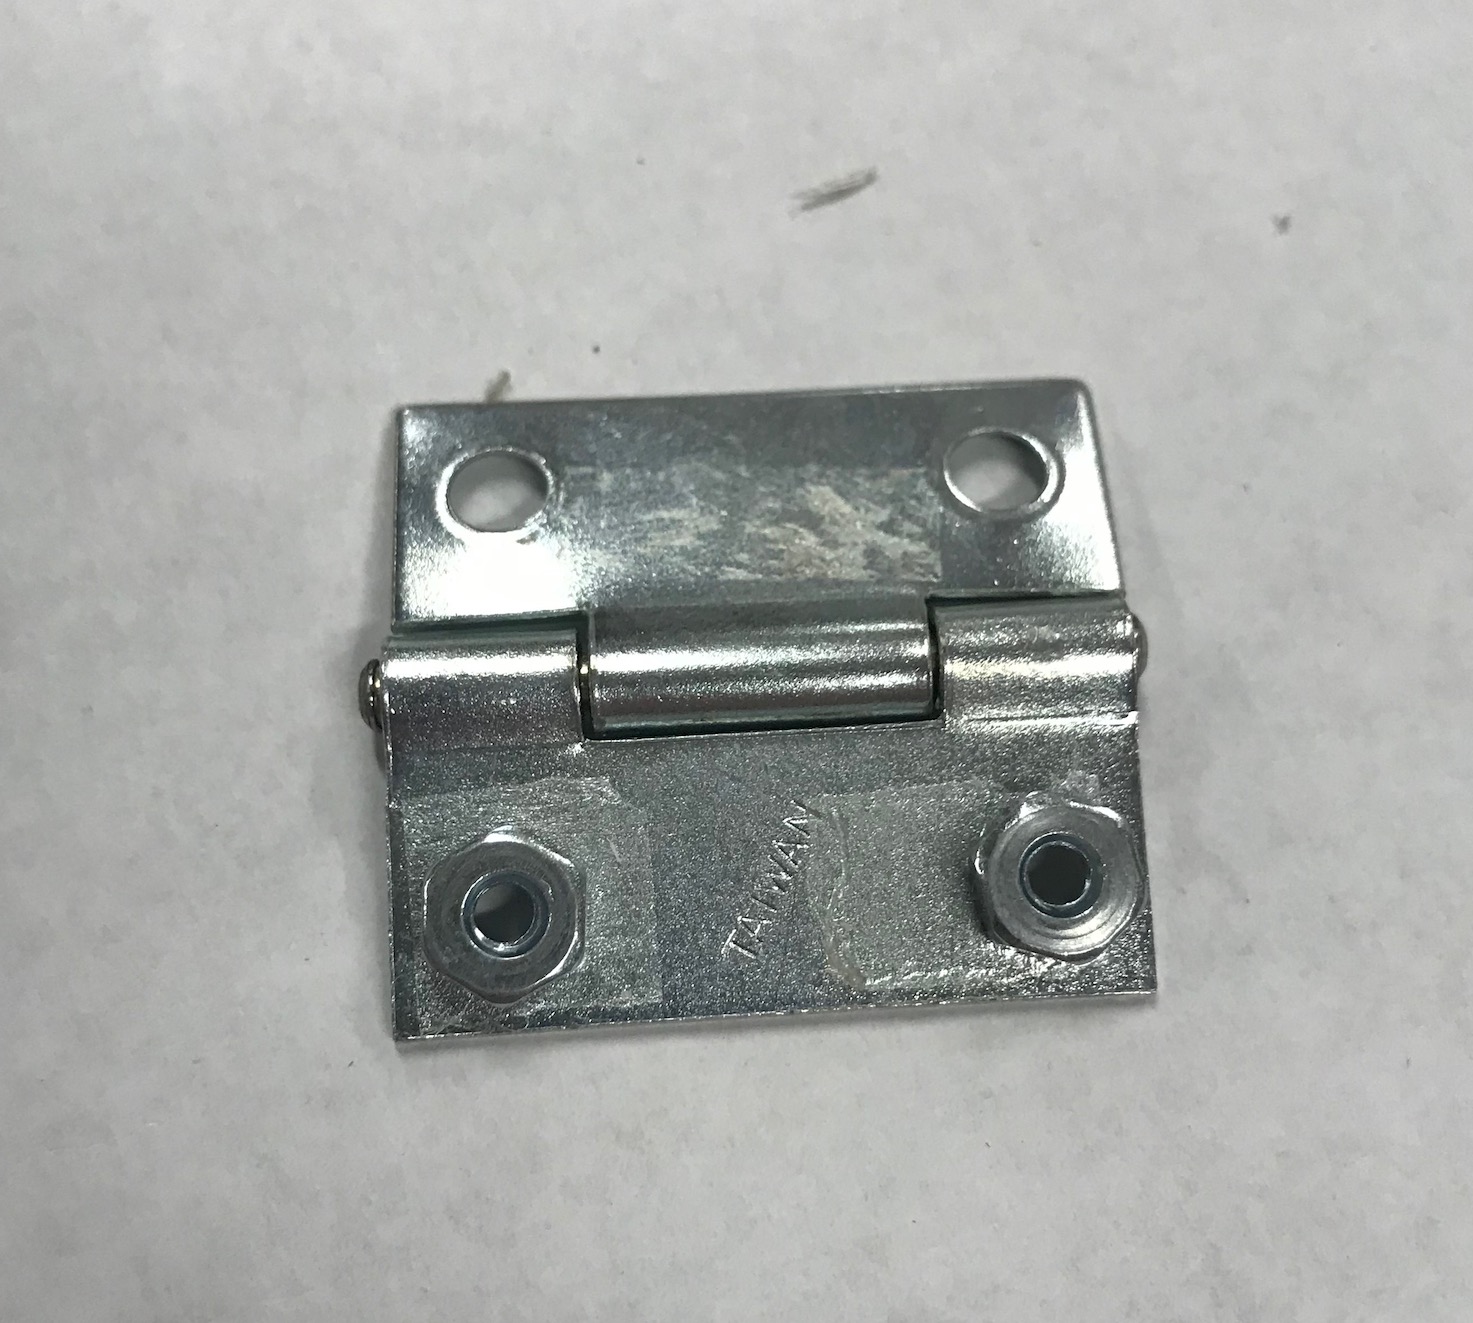
| Hinges | Mortise-Mount Hinges – 1-1/2″ x 11/16″ Leaves | 16.00 | $19.68 | McMaster Carr |
| Screws (for hinges) | Round Head Phillips Screws – 6-32 Thread Size, 5/16″ Long | 64.00 | $2.36 | McMaster Carr |
| Nuts (for hinges) | Hex Nuts – 6-32 Thread Size | 64.00 | $0.79 | McMaster Carr |
| Corner Braces | 1-inch corner braces, 1-4 holes | 4.00 | $3.59 | Ace Hardware |
| Screws (for braces) | Machine Screws – 1-4 Thread Size, 1/2″ Long | 8.00 | $1.83 | Ace Hardware |
| Nuts (for braces) | Hex Nuts – 1-4 Thread Size | 8.00 | $0.64 | Ace Hardware |
| Adhesive | Industrial Adhesive Transfer Tape – 1⁄2″ x 36 yds | 0.04 | $0.03 | Uline |
| Vinyl Roll (for decals) | Vinyl Roll – 12″ x 15 ft | 1.00 | $1.06 | Amazon |
| Frosted Glass Spray | 11-Ounce Spray | 0.50 | $1.68 | Amazon |
| Foam Board (for hardware) | 1/8″ thickness white foam board – 32″ x 40″ | 1.00 | $0.56 | Blick Arts |
| WeMos D1 | Microcontroller hardware | 1.00 | $12.99 | Amazon |
| Wide-angle LED | LED lights to display values (1 green, 1 red) | 2.00 | $0.32 | Amazon |
| Power Supply | 12V power supply from the wall | 1.00 | $9.99 | Amazon |
| Resistors | Low-amp resistors for the LEDs | 2.00 | $0.06 | Amazon |
2 replies on “From API to LED: Creating the Crystal”
[…] For details on how the physical enclosure was made, read more here. For details on the code and wiring of the crystal, read more […]
[…] Note: For a summary of the sculpture overall, read more here. For details on how the physical enclosure was made, read more here. […]