Worship of Cthulhu is a final project that costed $0 to make. NYU ITP has a lot of resources available and I tried to take advantage of them by making an assigned project FO FREE.
I hate spending money! But one lesson learned is definitely that ya get what ya pay for. This is true in terms of both item quality and consistency, as well as time and energy cost – an invisible cost upfront.
The assignment – mount a motor/servo/stepper (one or more) to something and mount something to that motor/servo/stepper – obviously first and foremost required a motor, and preferably one that could be mounted easily.
A trip to ITP underrated resource #1, the junk shelf, and bingo – a walkman.

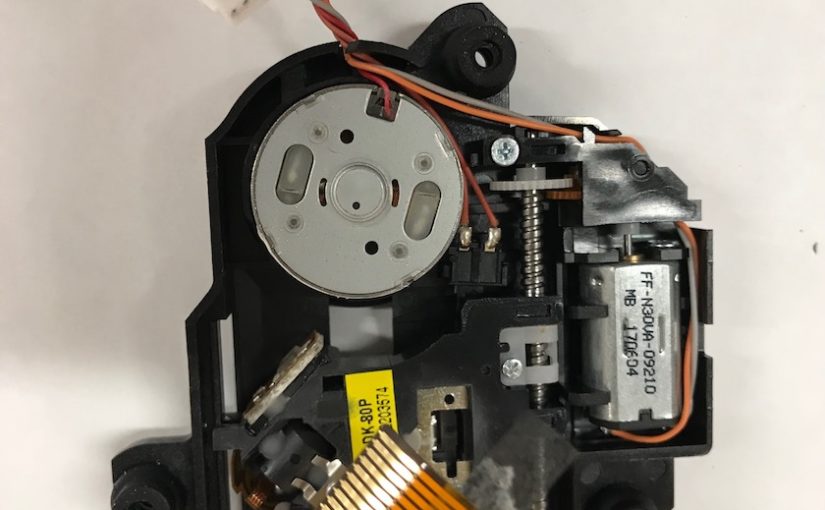
After gutting the walkman we find not one, but TWO motors. One controls the laser that read (read, past tense! CD’s are useless and dead now).
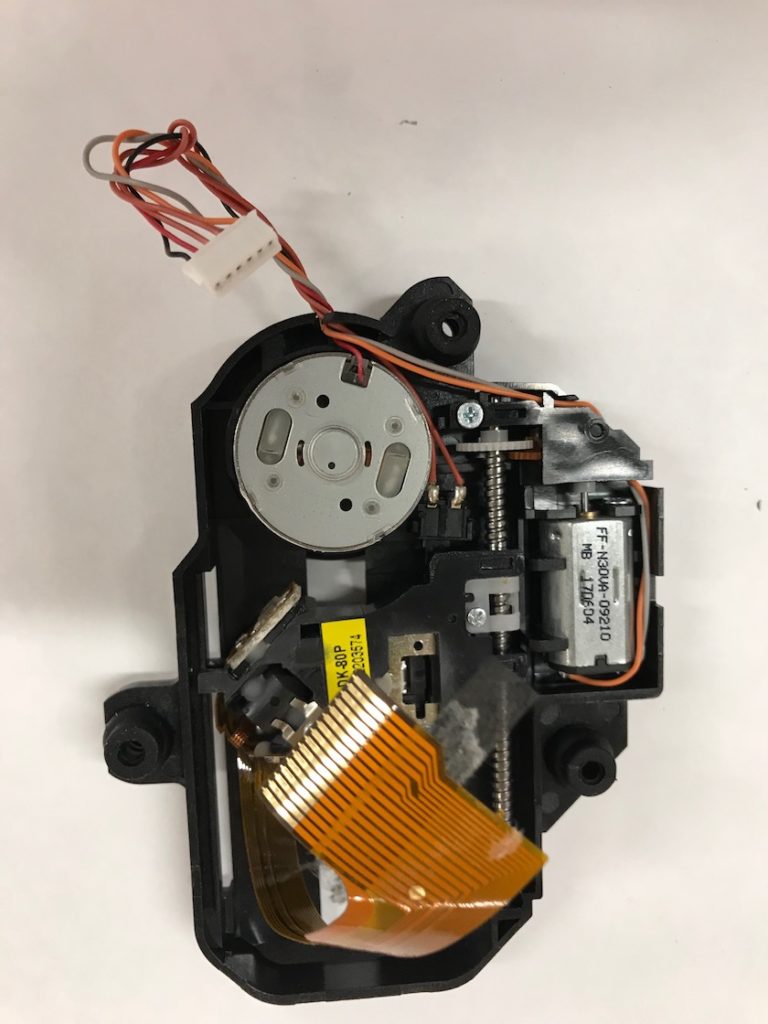

One motor controls the laser that read (read, past tense! CD’s are useless and dead now). The other controls of the spinning platform.
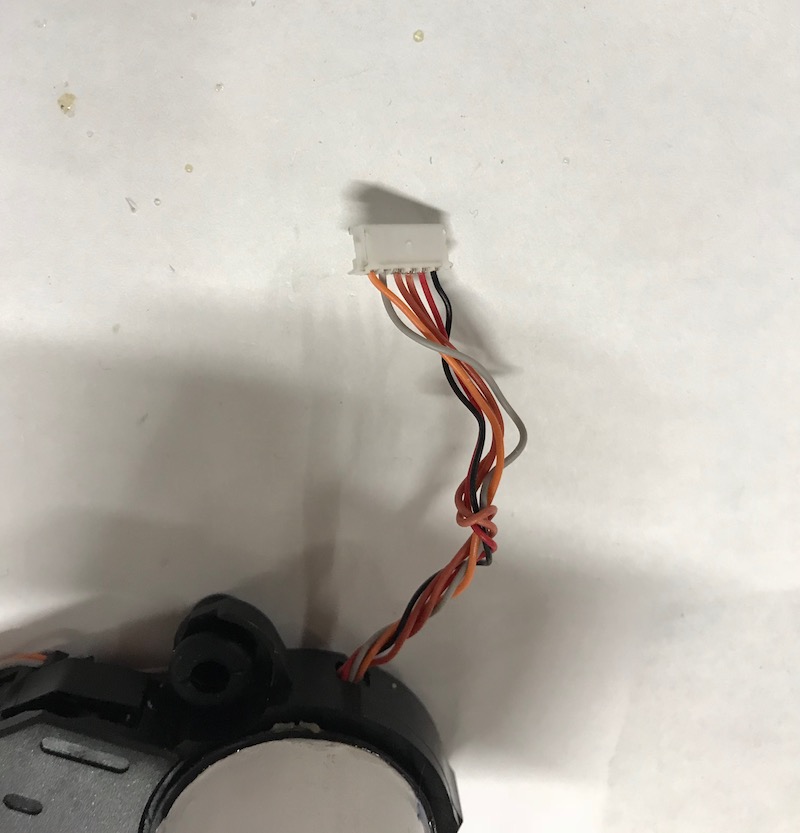
Conveniently we can see and infer that the wires coming out of the motors are the grey & orange, and red & black ones, respectively. DC motors fasho…
 The cd platform motor spins, and rather quickly when hooked up to 6+ volts. The laser cartridge motor spins the metal rod, which moves the laser mount in one direction. Once it hits the end of the line, it clicks as the white plastic part acts as a clutch to prevent the motor from breaking.
The spinning platform immediately made me think of this wacky, dangerous installation:
So I took a trip back to the junk shelf to look for something with that flexibility.
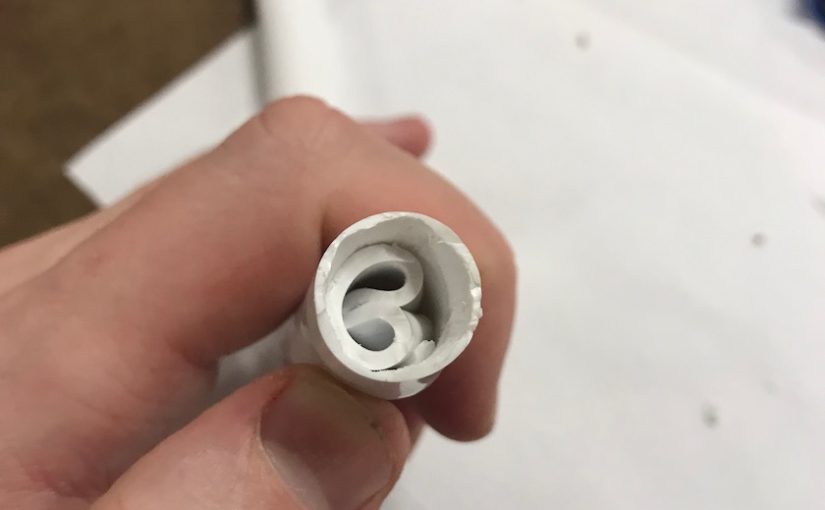
I found some rubbery tubing that looked like it would fit well over the platform CD holder. It wasn’t a perfect fit, but after cutting out some of the inside, it fit over when some pressure was applied.

I also stuffed some rubber tubing in there to act as a cap for what was to come next – trying to attach this tube to the platform.
Spoiler alert, it did not work. But it does bring be to ITP underrated resource #2: the flammable cabinet.
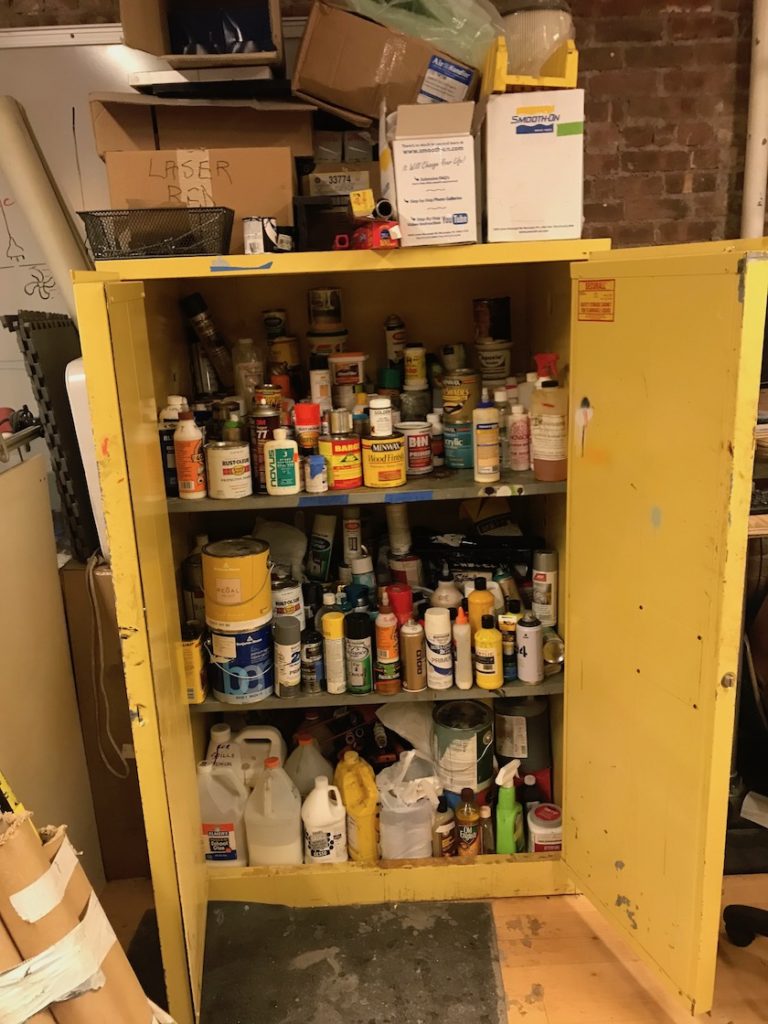

As you may know, I love to spray paint. My spray paints are stored in here, in the second shelf. However, the top shelf is completely free for use. There are all sorts of useful flammable items here: paints, glues, solvents, finishes, and cleaners.
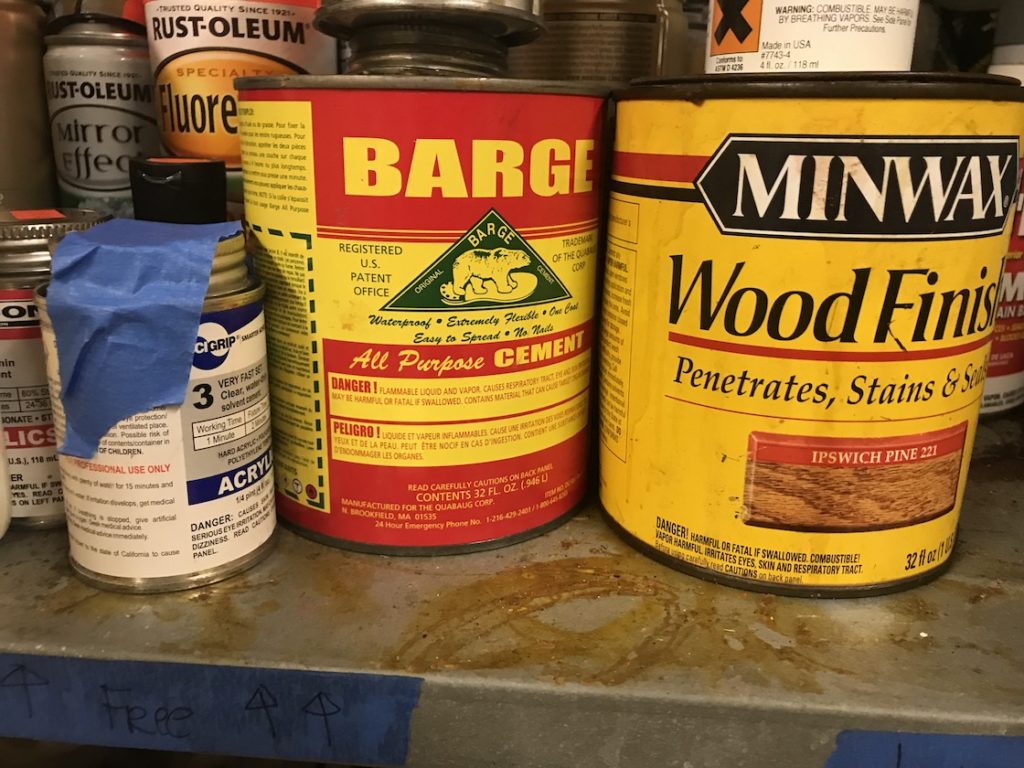
According to Thistothat.com, connecting rubber to plastic is best done by Barge Glue – and surprise! Theres a big container of Barge in the cabinet.


I applied some protective tape to the motor mount and followed the instructions. Applying to each side, waiting about 3 hours, then pressing them together with force.


Unfortunately, the cement didn’t work well – though I could feel it was very strong where there was solid contact.
But have I ruined my motor or the platform? No! The flammable cabinet also has solvents to remove this. In this case a mineral water removed all of the goop from the platform.
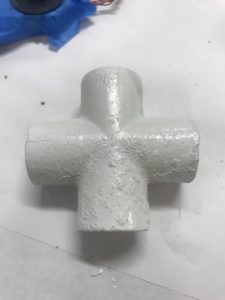
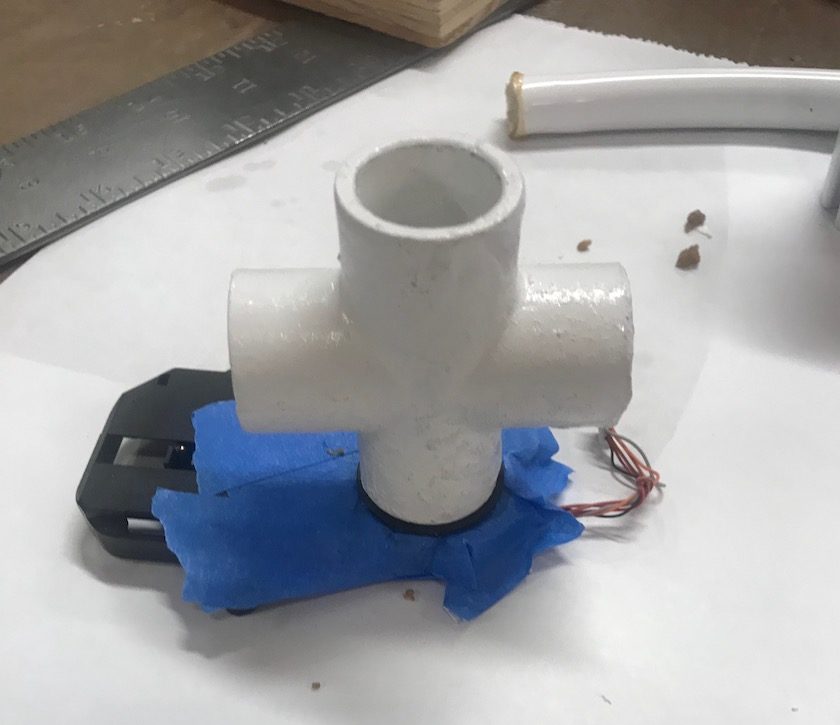
However we are also back to square one – what should be mounted to the platform? I found this piece of pipe that looked to have a similar diameter.
 I know the motto is ‘screws, not glues’ but for mounting this, I just wanted something strong on surface contact. Conveniently, there was a Krazy Glue Pop Up Shop near NYU.
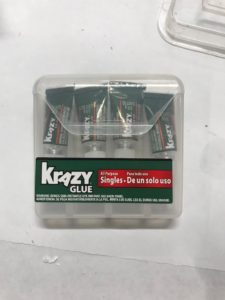

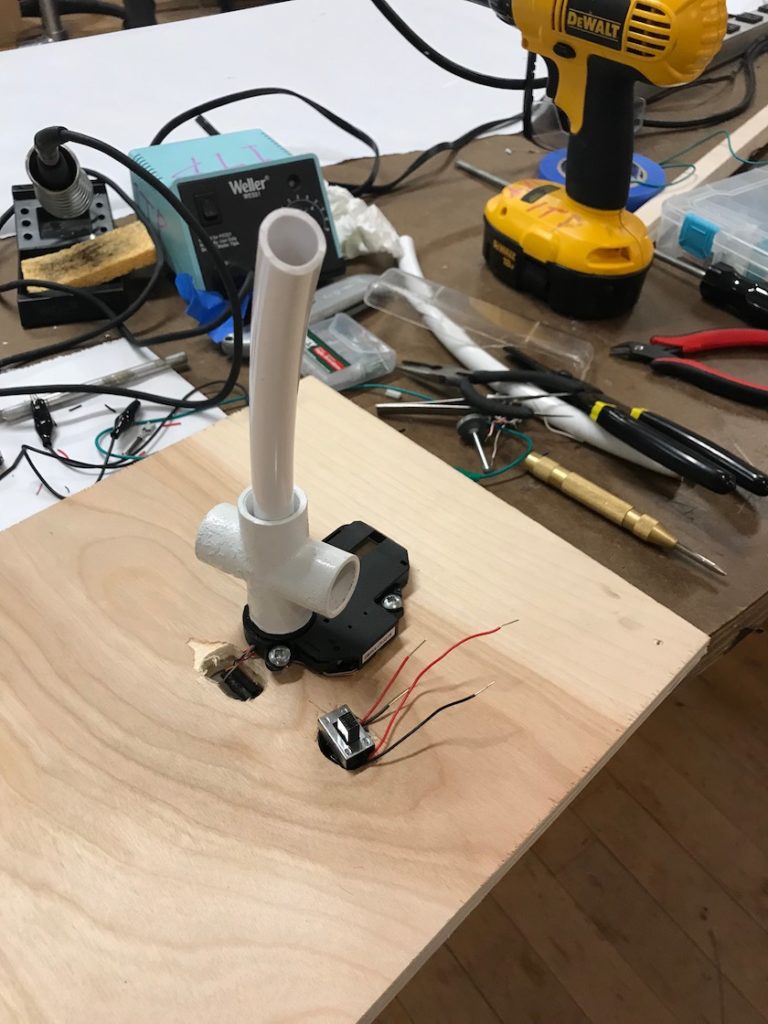
Krazy Glue or something similar is also available in the flammable cabinet. I used my sample to seal the pipe to the motor.

Ok, now with some actual stuff to spin, it was time to decide on functionality and do some wiring.
Again, back to the junk shelf – I found 3 potentiometers already nicely mounted and wired up.


I wanted to use the 3 potentiometers to control the voltage/current of one power source going to these two motors. I drew a diagram of what I imagined.
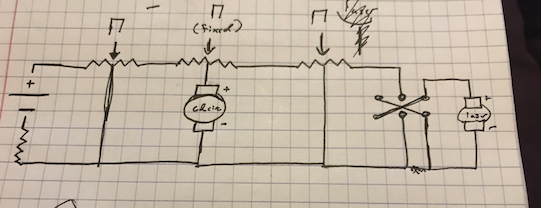
This, unfortunately, also did not work. I’m not sure whether it was my wiring or the components itself, but nothing was moving when I attached power.
DPDT Switch
The useful item from this exercise, however, was the polarity switch I made!
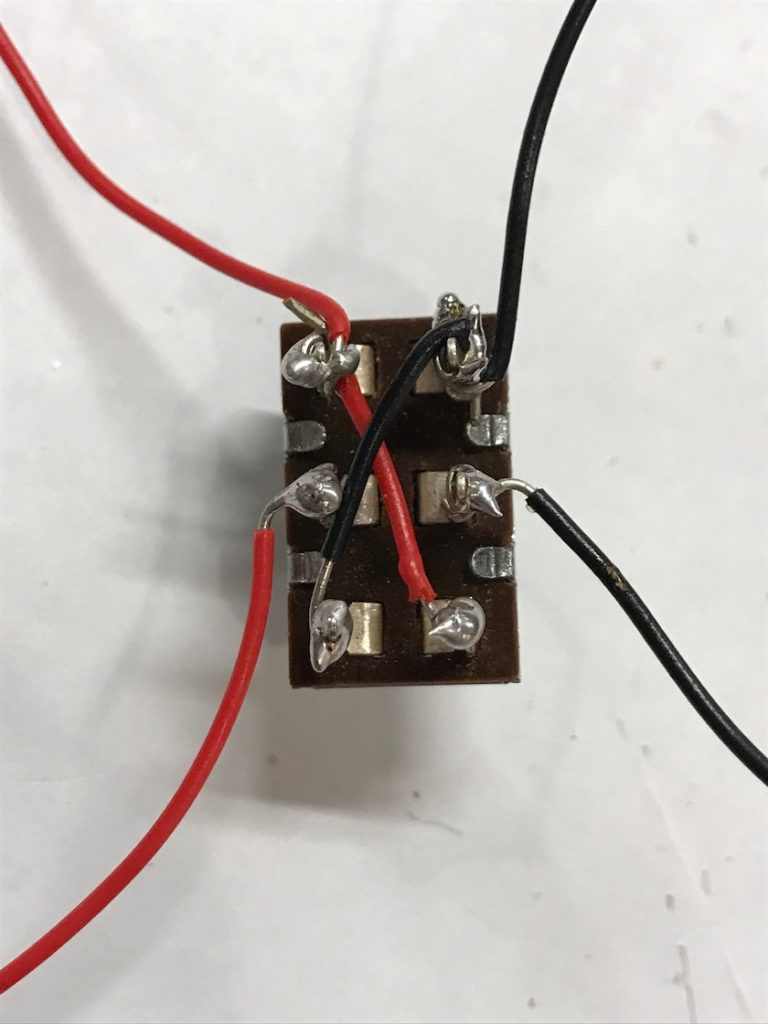

As I mentioned, the laser cartridge motor only moves in one direction when given power. In order to reverse the direction, you have to reverse the + and – input. You can do this using a DPDT switch by making one set of poles reflect the power in the opposite direction, as described here.
Though they are tough to work with and not great for mounting, we have these switches for free at ITP, along with the wires and solder to connect them.
As you can see, this switch works and made it into my final design.
After some wiring testing, I settled for just having the same power supply for both motors without any fancy controls.
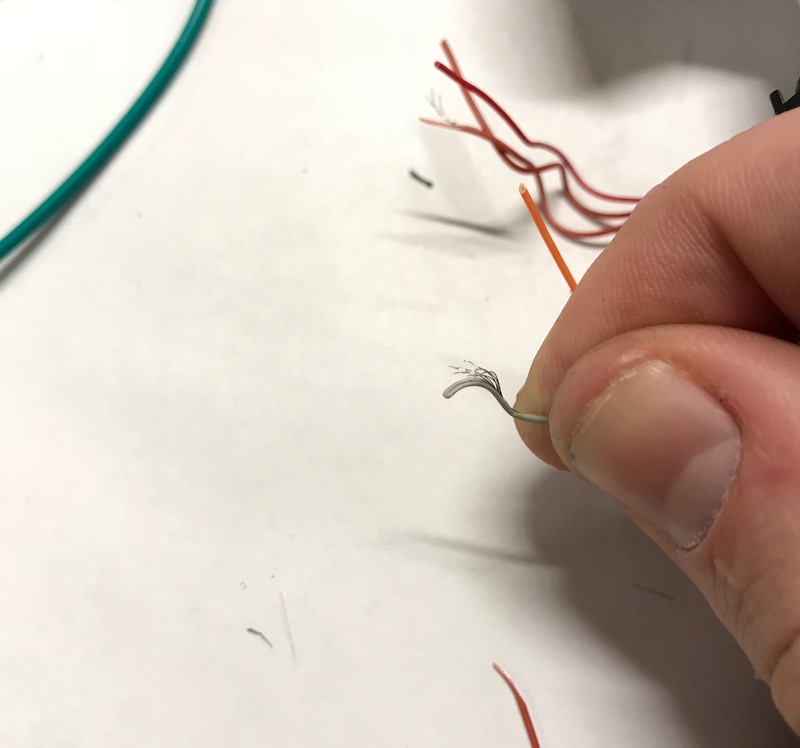
Plugging wires into the small pin port seemed annoying, so I decide to document the liberating feeling of cutting the pin port:
Feels great! but…
These wires were very thin. Too think to be stripped by any wire stripper in the shop. I ended up having to carefully cut away parts of the wire with an X-acto knife.

This sucked. I then wired a power switch I extracted from an item in the junk shelf into the circuit.
It turns out, however, that this switch was totally broken. Mistake #2 in the same 20 minutes. I should have tested for continuity before doing any soldering. Boooo!


With absolutely no desire to wire another switch, I decided to save this problem for later and fasten the wiring I had already completed.
I used the heat gun for the first time to seal the exposed solder for a more secure fit on those fickle little motor wires.
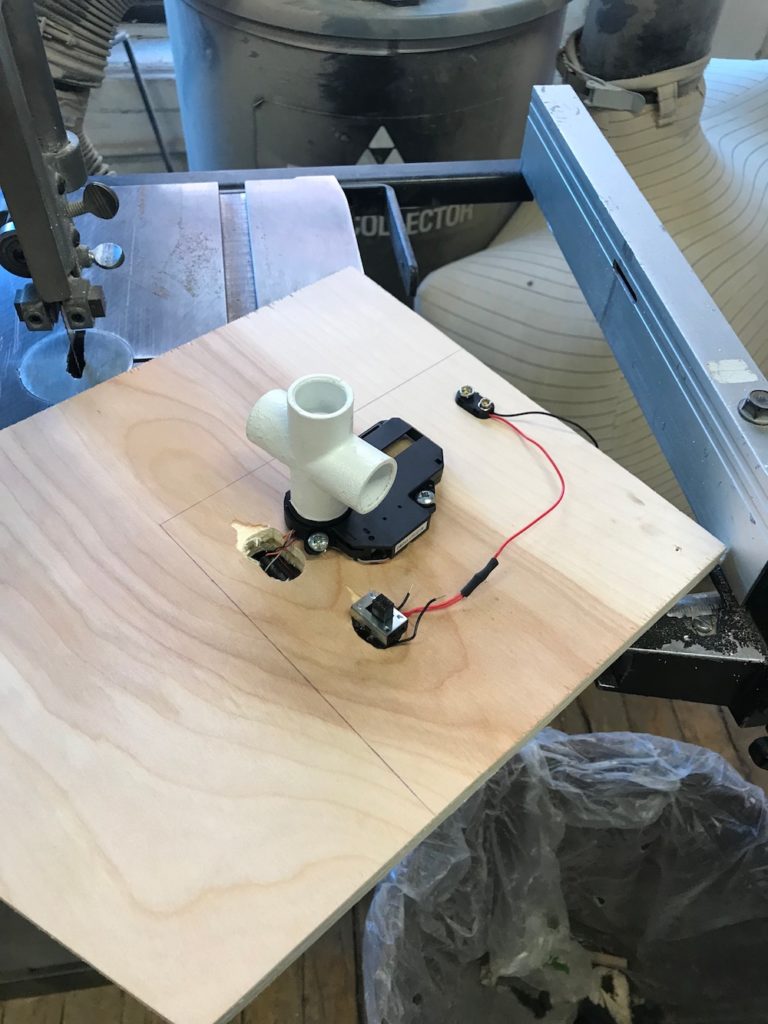
I also needed to find a place to mount my contraption! One check of the scrap wood by the ITP show, and I found this. It was light, and an appropriate thickness.


The motor mount has 3 holes in it for screws – now I just needed some wood screws, which were available from ITP underrated resource #3, the spare parts container.

I was able to find these three similar wood screws with an appropriate size.
 I drilled the mount into the wood and threaded the wiring through the holes that came with the wood.

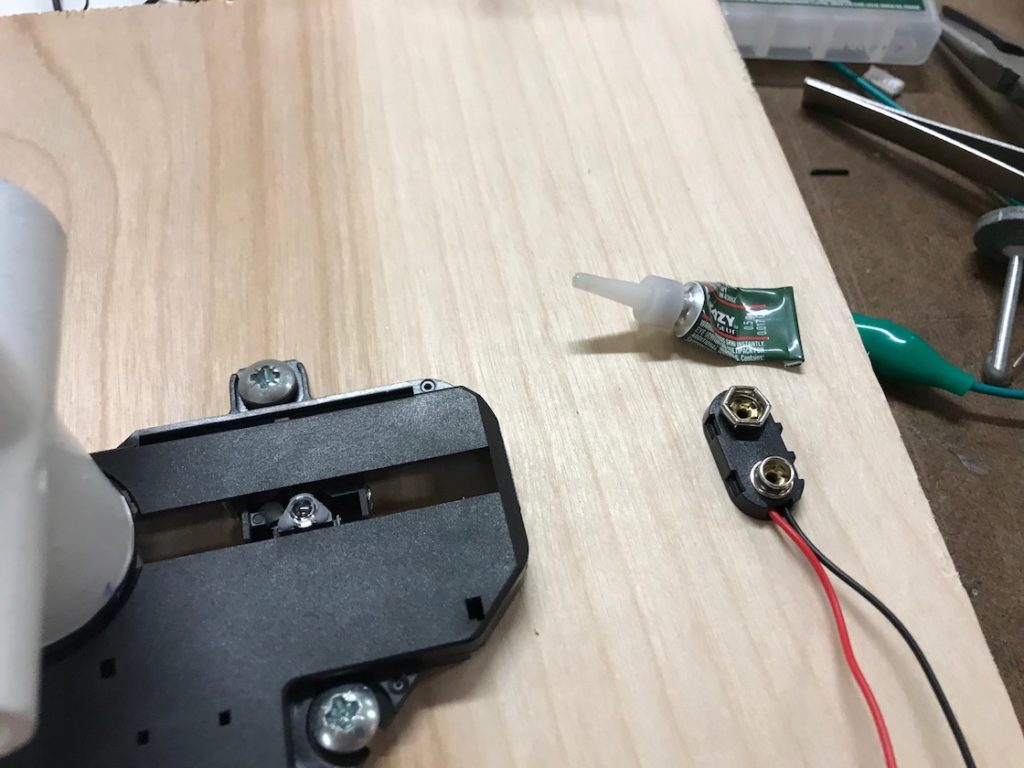
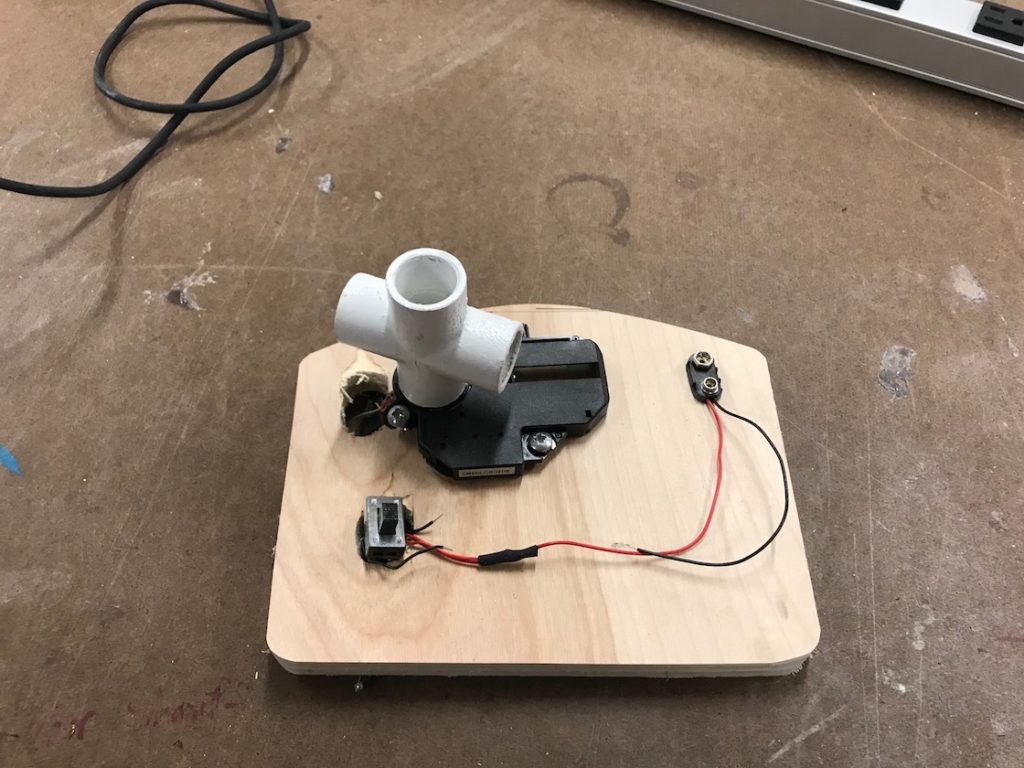
I made a “switch: for the contraption by using our temporary friend super glue on a 9V battery receiver.

While making the final connections, the wheels started to come off the operation. Soldering started to fall apart, such as this connection here:

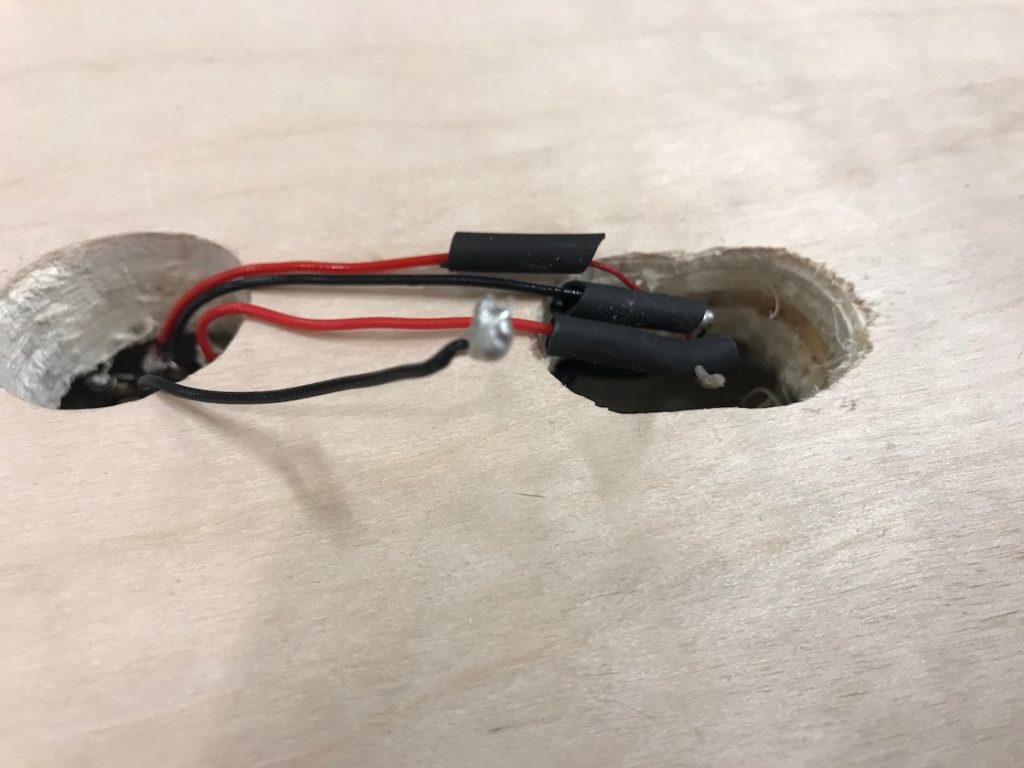
I fixed this soldering issue and cut the board with the band saw.


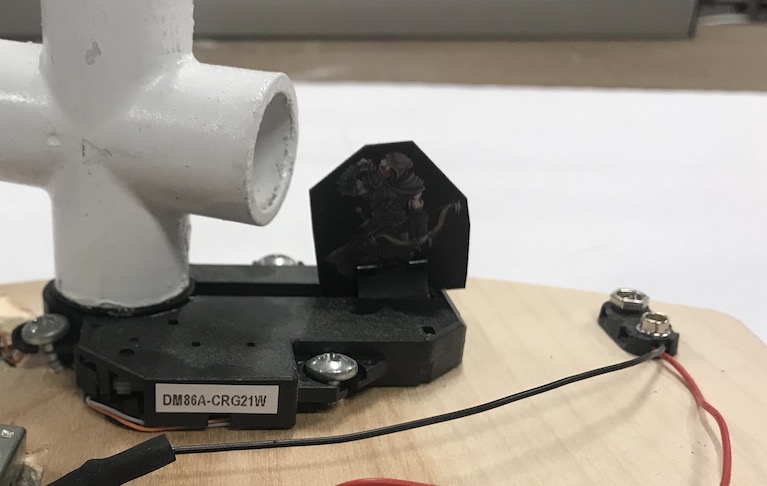
Finally I super-glued a little D&D character to the laser cartridge so that he could worship this spinning tube (Cthulhu’s tentacle) for eternity!
A final step could be to paint and/or apply finish to the thing, but I am happy with it as-is.
PROOF THAT YOU CAN MAKE A WHOLE “THING” FROM “JUNK”
One reply on “Final Project, FOR FREE!”
[…] We found the umbrella in the junk shelf (my one true love): […]